The wonderful people at Young Farmers kindly funded a course for me to learn how to carve in wax to create cast silver jewellery. I went along to the Jewellery School in London to try my hand at a new skill.

I chose wax carving as it allows for more complex and creative designs. Now that I have done the course I thought it would be good to share my findings.
The main tools you need are;
Pencil and paper
Metal ruler
Bench Peg
Piercing saw
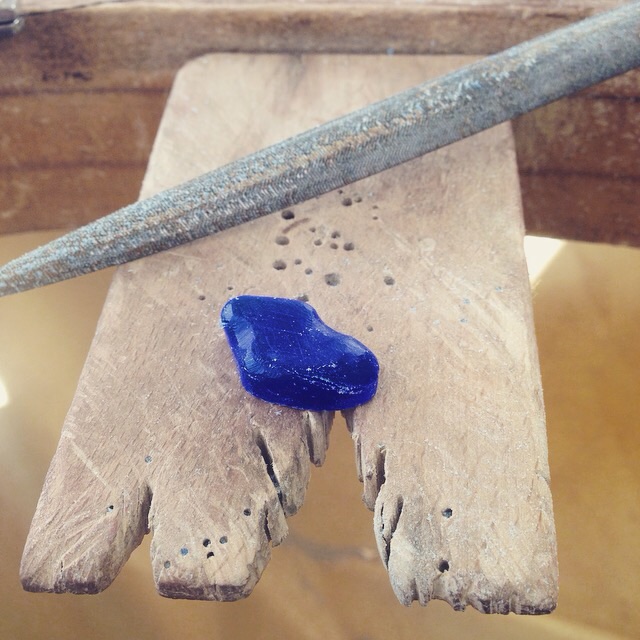
Wax blade (a thin twisted blade)
Small files
Large file
Wax tube ring sizer
Dentist tools
Calipers For measuring
Before you start it is important to plan out your idea, do some research to get some inspiration and then sketch out a few ideas.

Once you have come up with your final idea sketch out the design from 3 different sides (known as an orthographic drawing - hopefully you remember these from Design and Technologly lessons at school) the more detailed the design is the better, so include as many measurements as you can.
With the design complete you are then ready to begin. Select a piece of wax to suit the size and shape of your design (note that rings require a specific block of wax that has a pre-cut hole)

Draw your design onto your wax piece checking your measurements carefully. If your shape is complex you could cut out a paper version and stick it to the wax using double sided tape to trace round with the saw.

Once you have the basic shape of your design you can begin to file and shape it. Begin with a large file working your way down to a small file.
Dentist tools are great for carving into wax, it's worth checking if your local dentist has any old tools they no longer need.

The last thing you need to do it use a fine grade sand paper to remove all the scratches, the smoother the surface the less polishing you will have to do later on. When you are happy with the finished result you are ready to send it off to a casting company to get it cast into gold or silver (or cast in a base metal and then plated)
The idea is to take out as much unnessacery wax from the design as possible to bring the price down as low as you can and also to keep it light weight.
Here is a wax to metal price conversion chart to give you an estimated cost before you send it away to be made.

Note: allow for shrinkage when wax is cast particularly with ring sizes.