
If you haven't heard of quilling, it's basically a very simple art form that involves curling strips of paper. Its been around for a long time (Wikipedia says the 18th centry) and was something I had wanted to have a go at trying.

I'm also a fan of contemporary paper folding. This is the origami collection I designed for the jewellery brand Saxons of Oxford:

Earrings and necklace design based on paper folds, with paper cranes in the background.
Back when I was researching paper arts for the that project I came across quilling and was meaning to try it out. One of our friends inspired us to try a new craft skill after we each received these amazing hand made gifts. I decided quilling would be perfect for this project. Now I was finally getting the chance to have a go, it turns out all you need is a book from the library to get started:

Creative paper quilling by Ann Martin. I'm definitely going to take more advantage of the library they had tonnes of craft books there including lots on silversmithing.
The main items you need are; some glue, coloured paper strips, a pointy thing and a twisty thing (technical terms) oh and ALOT of patience....

Seriously, look how pretty the colours are
I did try to buy a set locally but they said it's a dying art (hopefully this is not true) so I picked up a set from Amazon instead. They did helpfully point out to get the book from the library though.

Everything you need to get started
There's also these other pieces that you may or may not need (I didn't need these but they came in the pack)

Some other pieces in the set that I didn't really understand what they were for - quilling sets dont come with instructions.
First you need an idea which you can draw up on the computer to see how it looks and then print it out.
You can use any coloured card but white is probably best so you can see through it to trace. You'll also need a blunt point, I just used one of my jewellery tools (see equipment image). With the print out underneath the card and some light shining through (I held it up and leaned on the window) trace around your outlines from the printout.

Tracing the outline to create the indentation on the card
Using the pointy tool you want to dab a tiny bit of glue at a time onto the scored lines. With the strip of paper, shape it around the planned out lines.

I started with the letters and made them the same colour as the card.

Creating the shape for the letter E
When you get to the end of the shape you leave a little bit to overlap and just cut the end off and glue it in place.
After trying really hard to bend the paper with my fingers I realised the twisty tool had multi purpose. The paper goes between the gap and you can shape the paper around this. Turns out this way is much easier, way more neater, way more accurate and slightly less fiddly.

Tool slots paper in the gap and it can then be bent to an angle
Dab the glue in a line using the tip of the pick. Press and hold the edge of the paper for a few seconds, it secures a surprisingly strong bond between the two.

Then the curls come in, place the strip of paper between the slot in the twisty tool and then wrap it round and round, this is really easy. I'm sure you're supposed to measure the length of the paper but I only looked at the pictures in the book so I made things up as I went along.

Twisting the paper into curls
Add a dab of glue to the end of the curl.

Depending on the size of the curl you want you can let go of it to create a bigger curl.

You can change the shape of the curl from round to oval, square, triangle, heart any shape really.

Press and hold the glued area
To create your shape you just press where you want the corner, this example is a tear drop shape.

You can have a practice with the different sizes and shapes to see how they look.

Half way through I realised how useful the tweezers were. Top tip: use the tweezers for everything.

Pressing the glued area together with the tweezers
Once you have made a few curl shapes of varying sizes you can start to place them into your paper outlines to see how they look and which ones fit best. Once you're happy, pick up a curl with the tweezers and drop them into the patch of glue and stick it in position. Again press and hold for a few seconds.

Starting to see it all come together nicely.
Pack all the curls quite tightly so that it fills all the space. You can also do decorative free hand swirls around the edge but I was trying to create a specific shape so I did it within the outlines (Google quilling for other examples of how it can be done.)

For a simple craft it looks quite impressive close up.
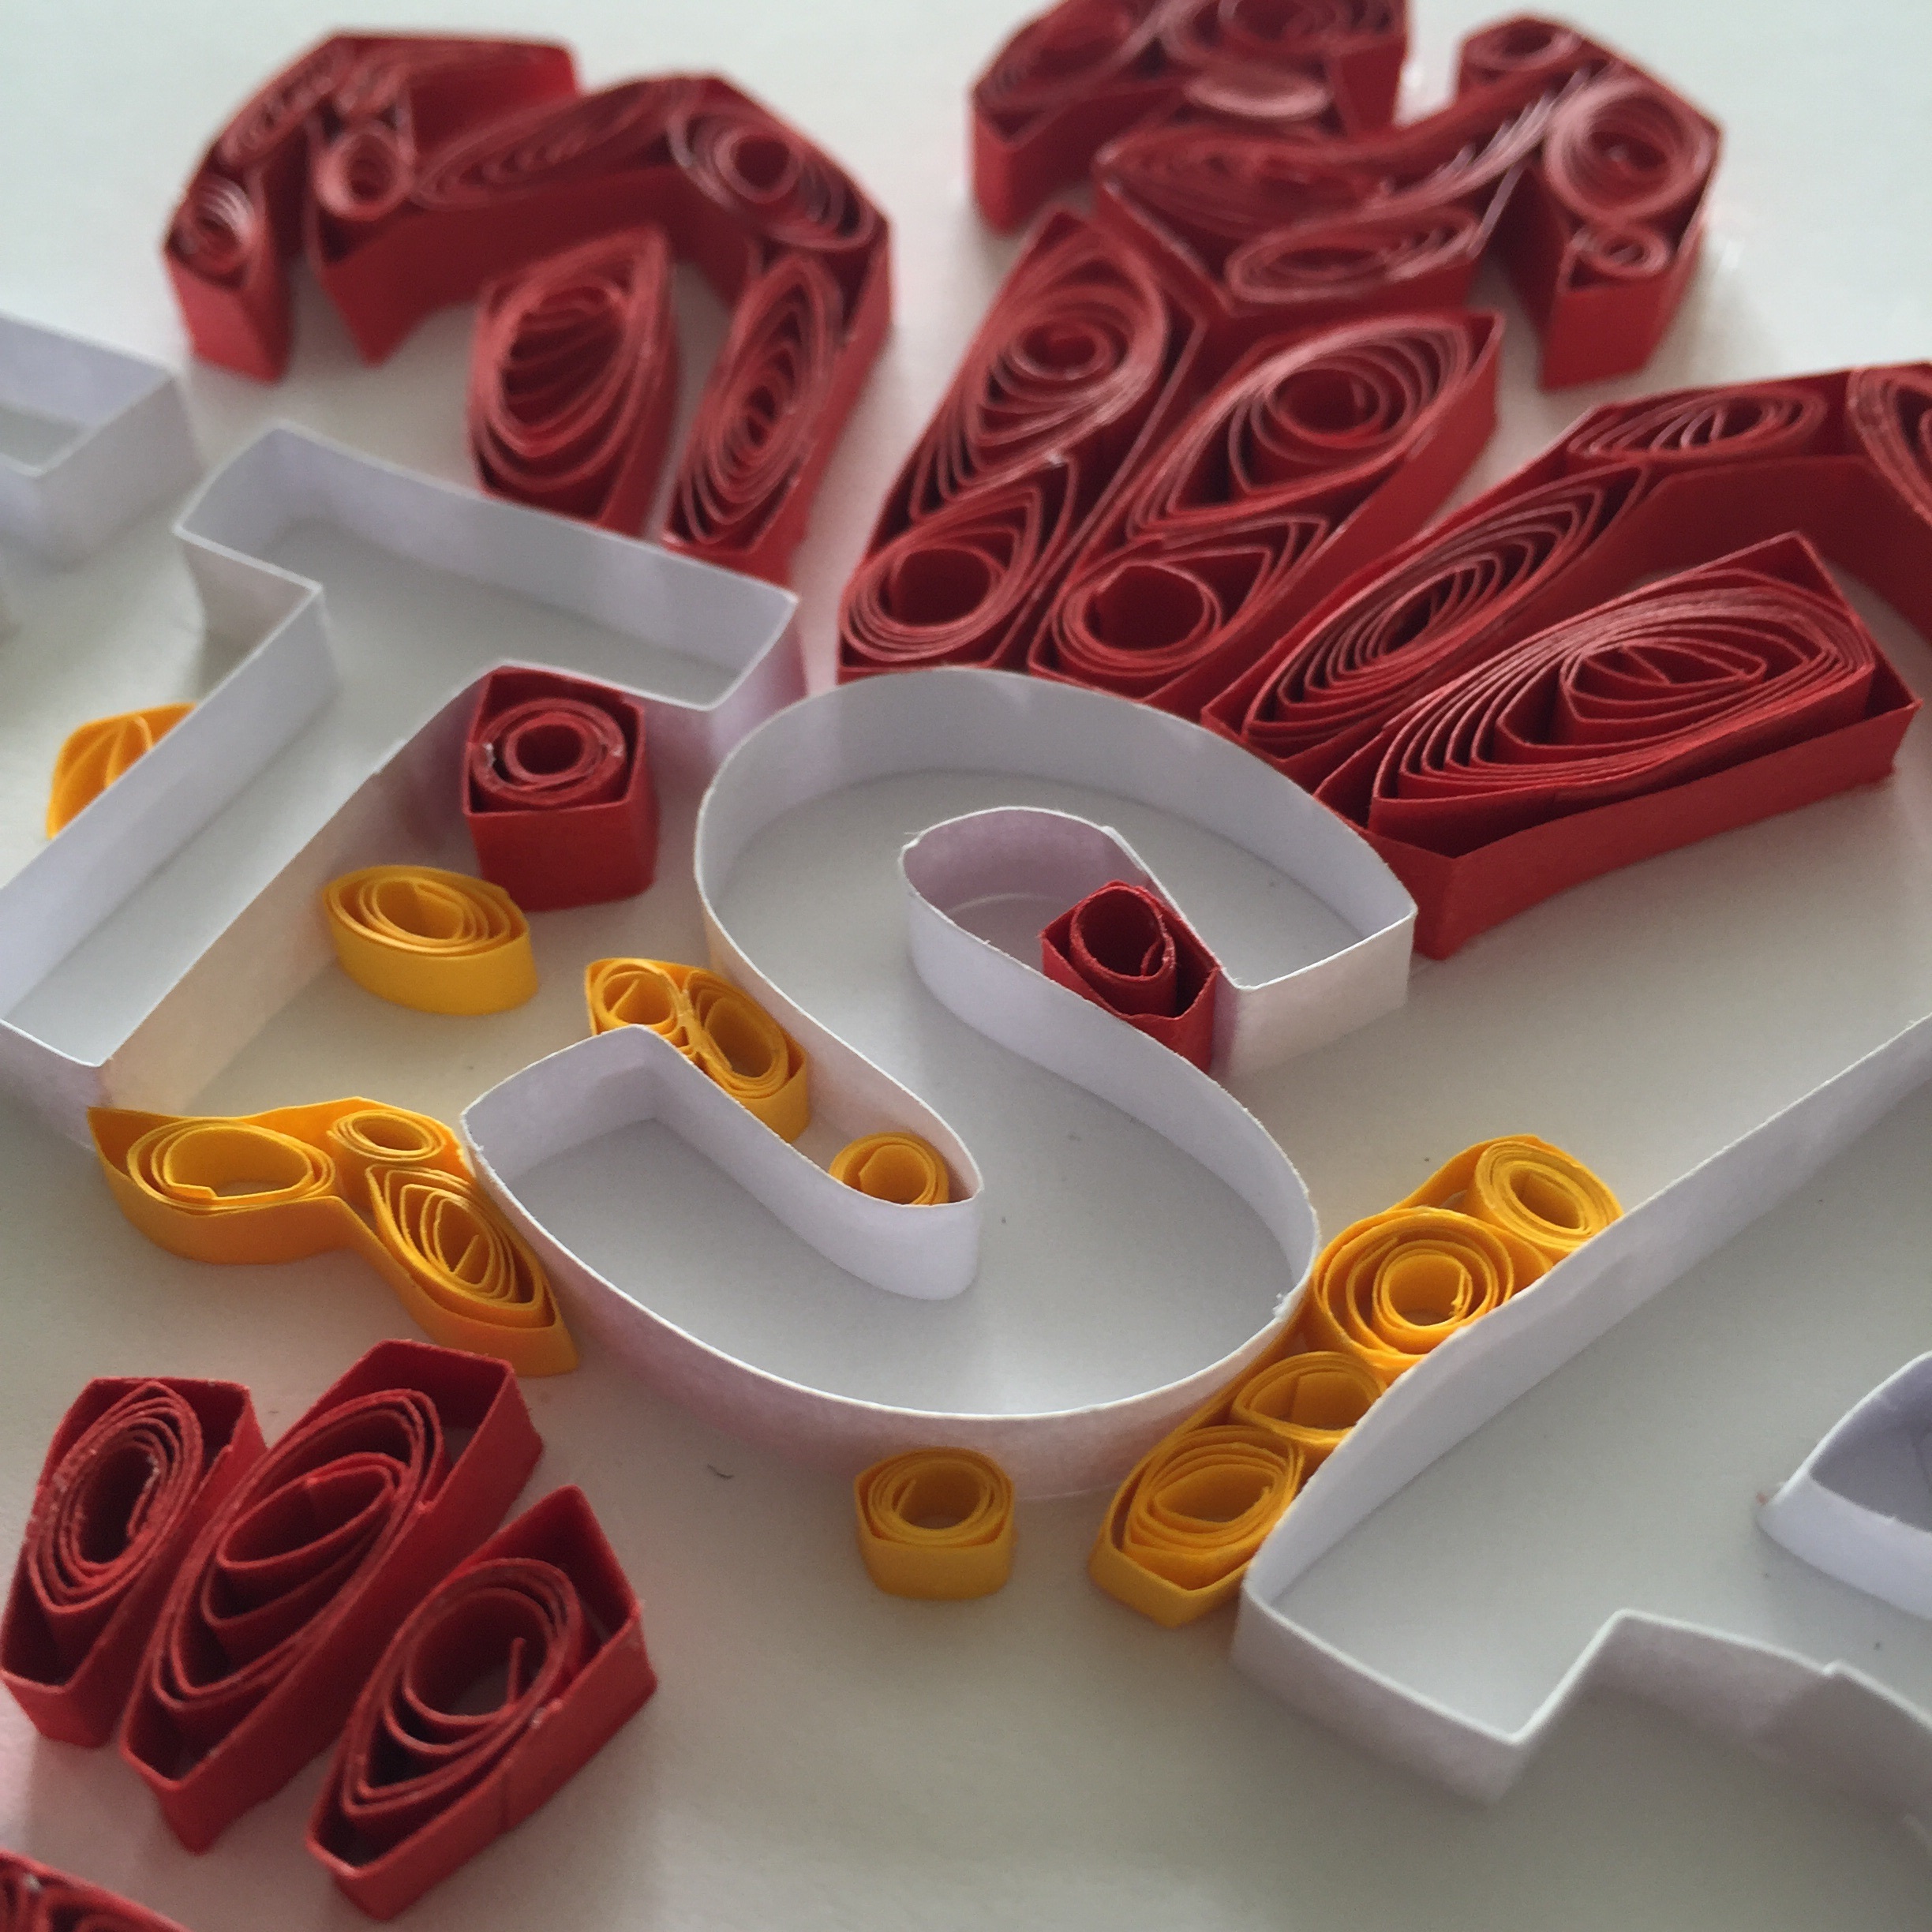
This was the final result, my friend is a huge Wales fan, the shape is the Welsh rugby team logo with her name in the middle.

Not bad for my first go.

To finish it I placed it in a white box frame. You need something with a bit of depth behind the glass to allow for the paper to stick up, these are quite difficult to find though so you could just take the glass out of the frame instead.
Hopefully this will also inspire someone to take up a new craft or try quilling. I'd love to see what you make if you do.